How to style your home with your school photos
One of the most favorite things that parents love about my school photo products is the option to purchase professional frames along with the prints of their kids. It’s a win-win situation. Here are some tips of exactly how to style your home to get the most out of your new frames!
Gone are the days where you get this great professional print and then have to remember for about a year with that mommy brain of yours (I have one too) to buy a frame for the print. My frames are great because they are flip back closure. What that means for you is that you can update the photo every year.
DESIGN TIP: How to styling tabletops?
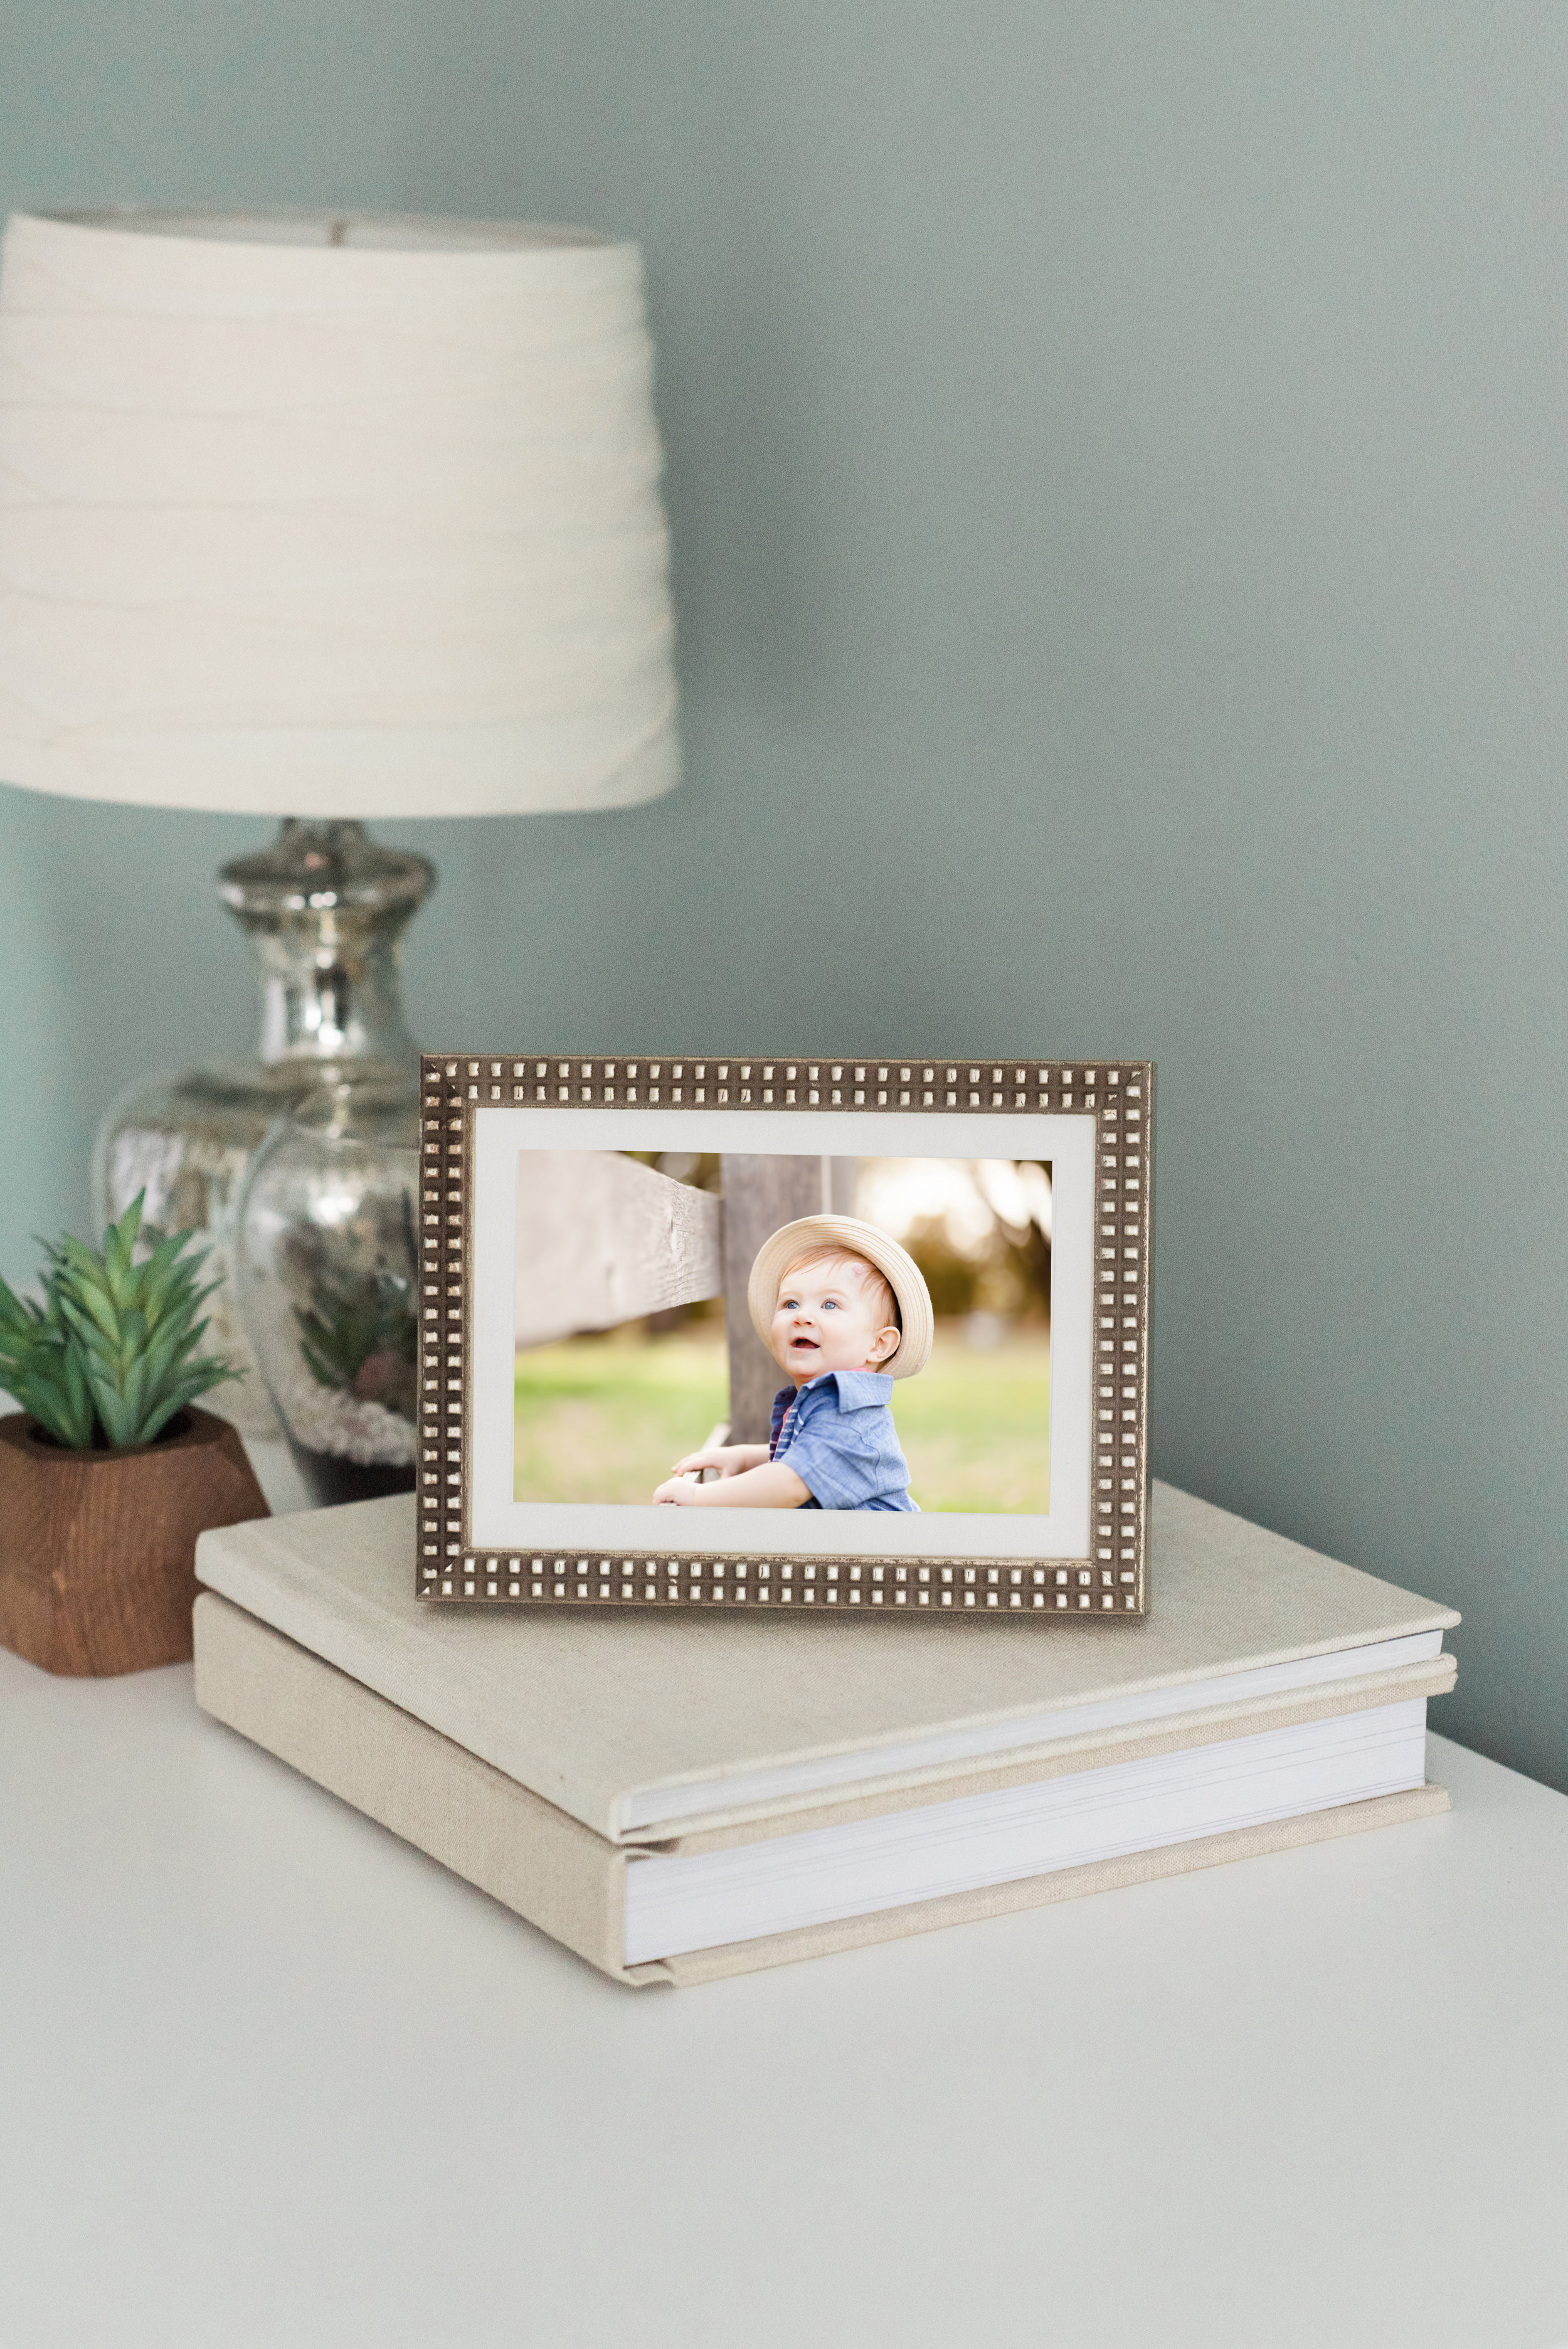
Create balance and dimension by mixing in taller items with objects that are more flat. In this example the lamp serves as the taller item and the framed photo is given a tad bit more height with the stacked photo albums. To finish this look off even more, you can fill in the wall behind it with frames art or a mirror.
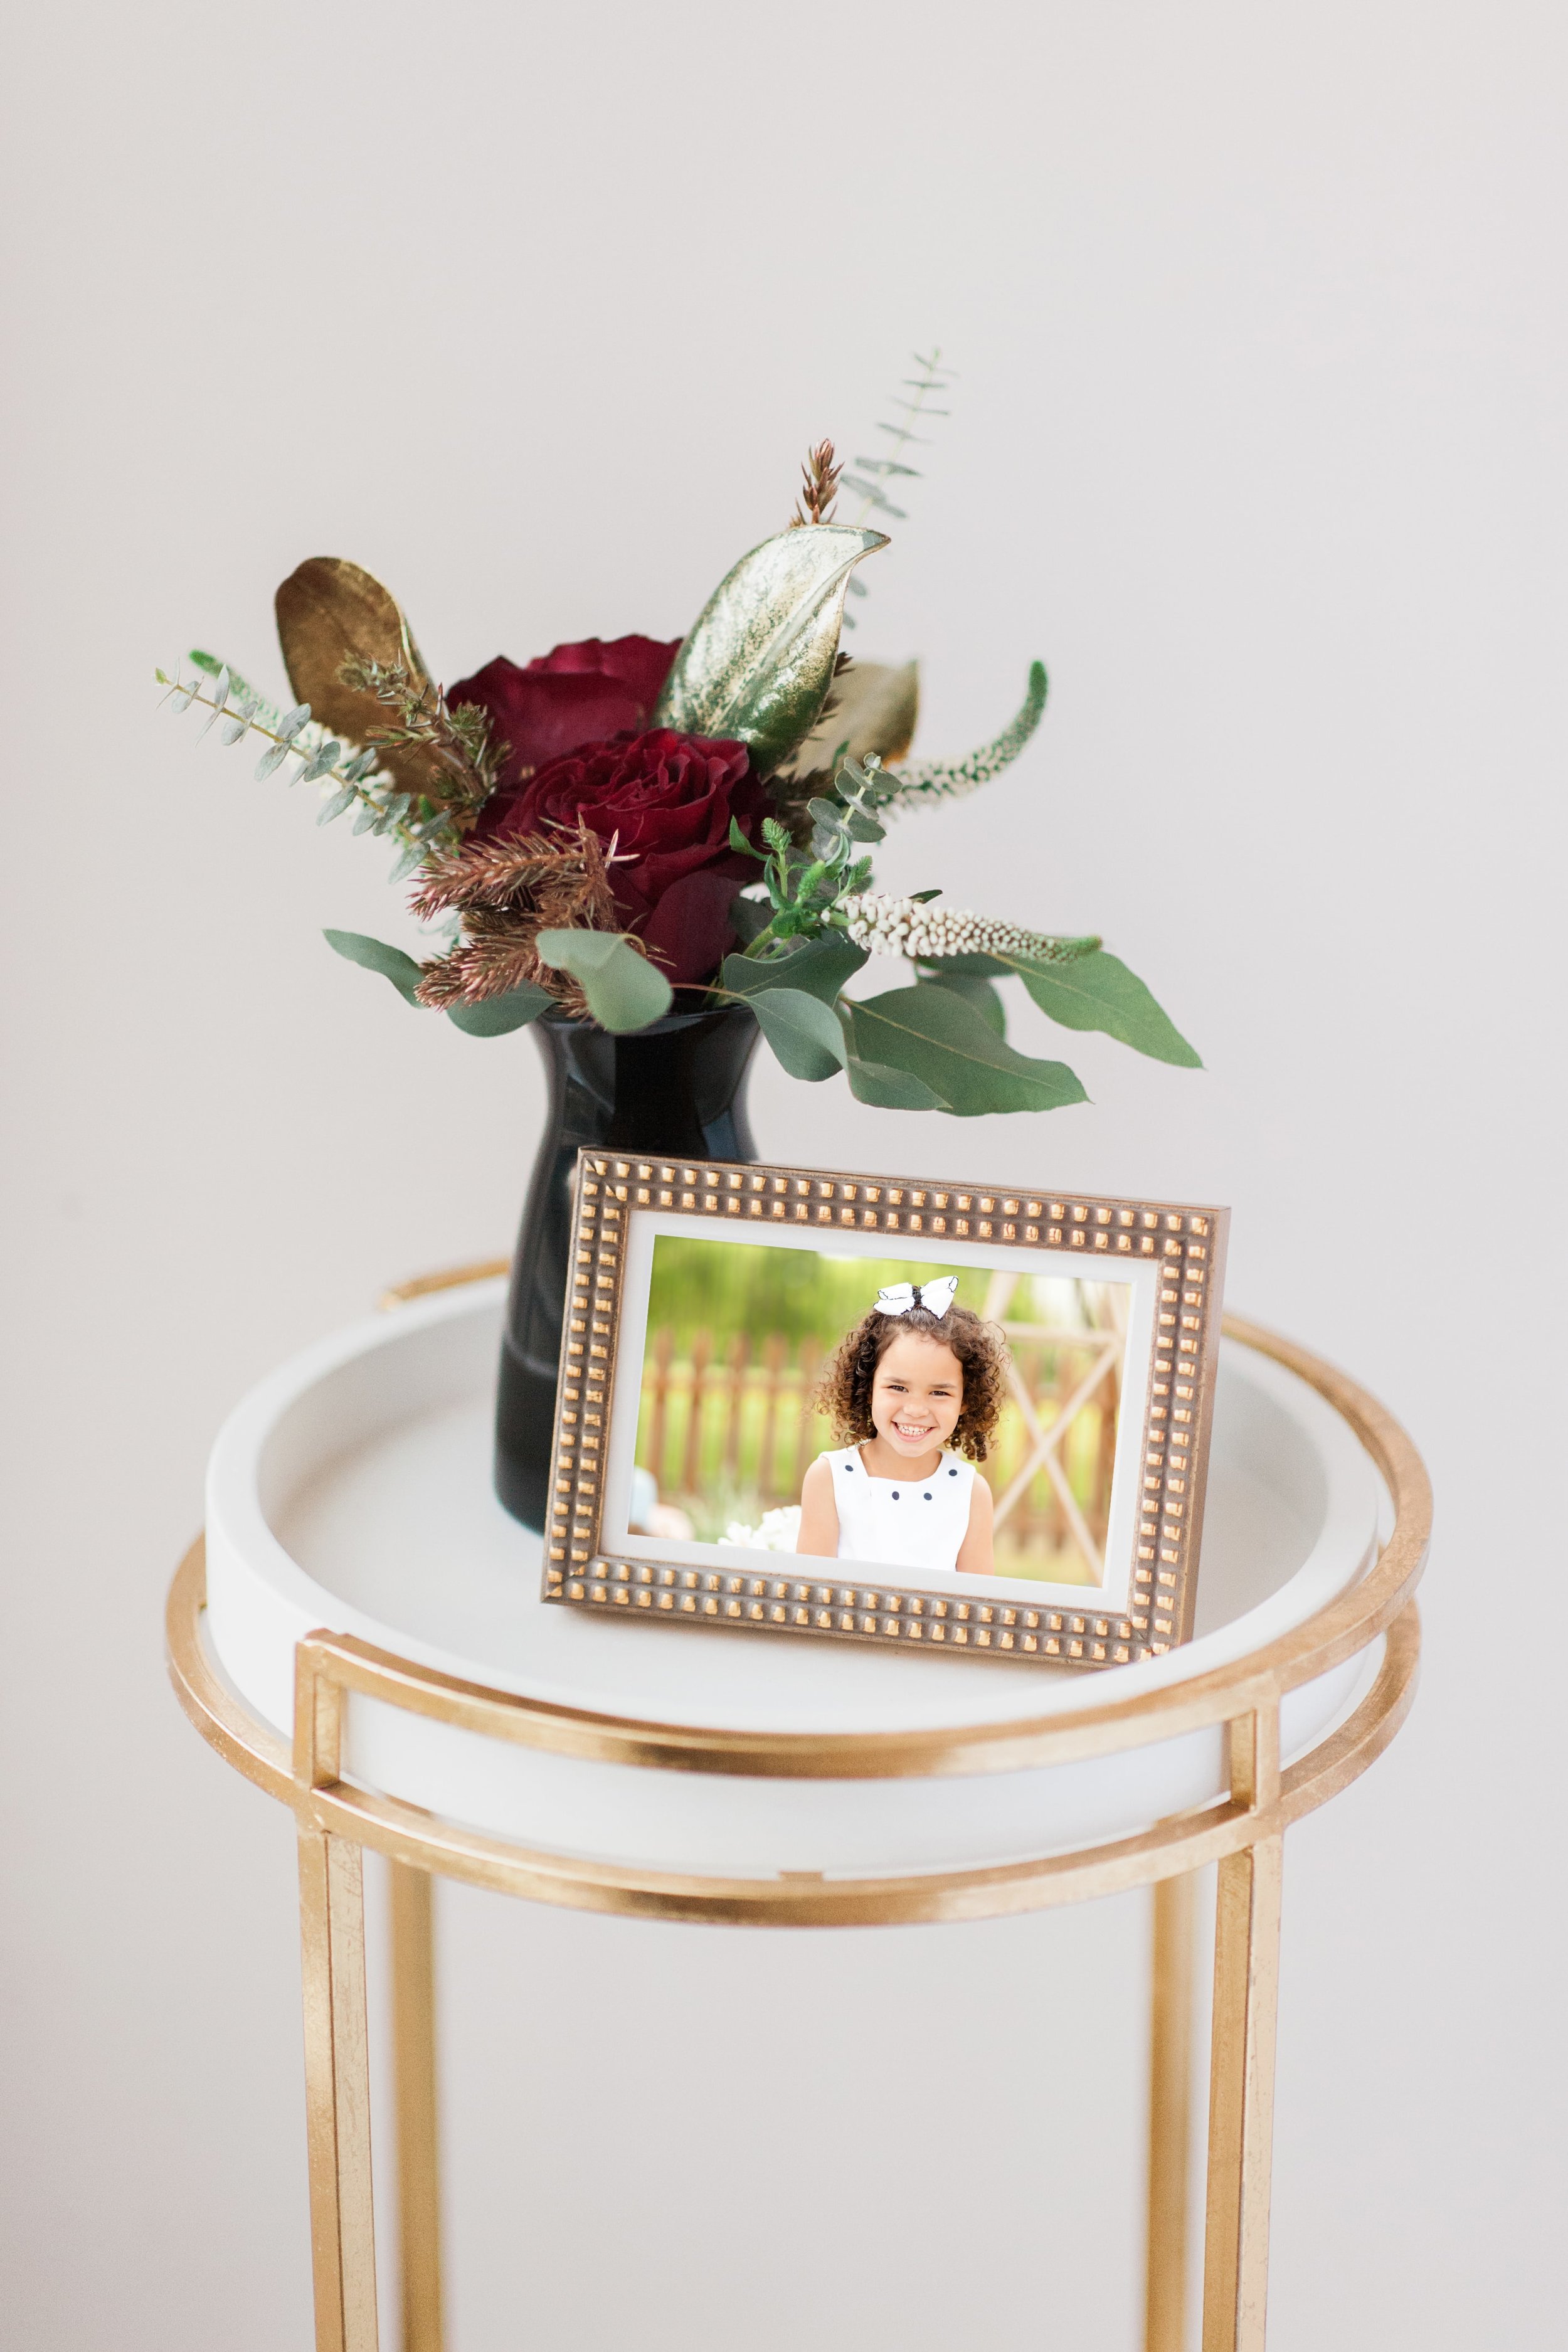
The Hawthorn Frame (picture above) Great for eclectic homes. Matches well with home colors of grey, white, soft neutral colors. Matches with many preexisting frames styles. The most popular frame!
Use Frames and Plants Together
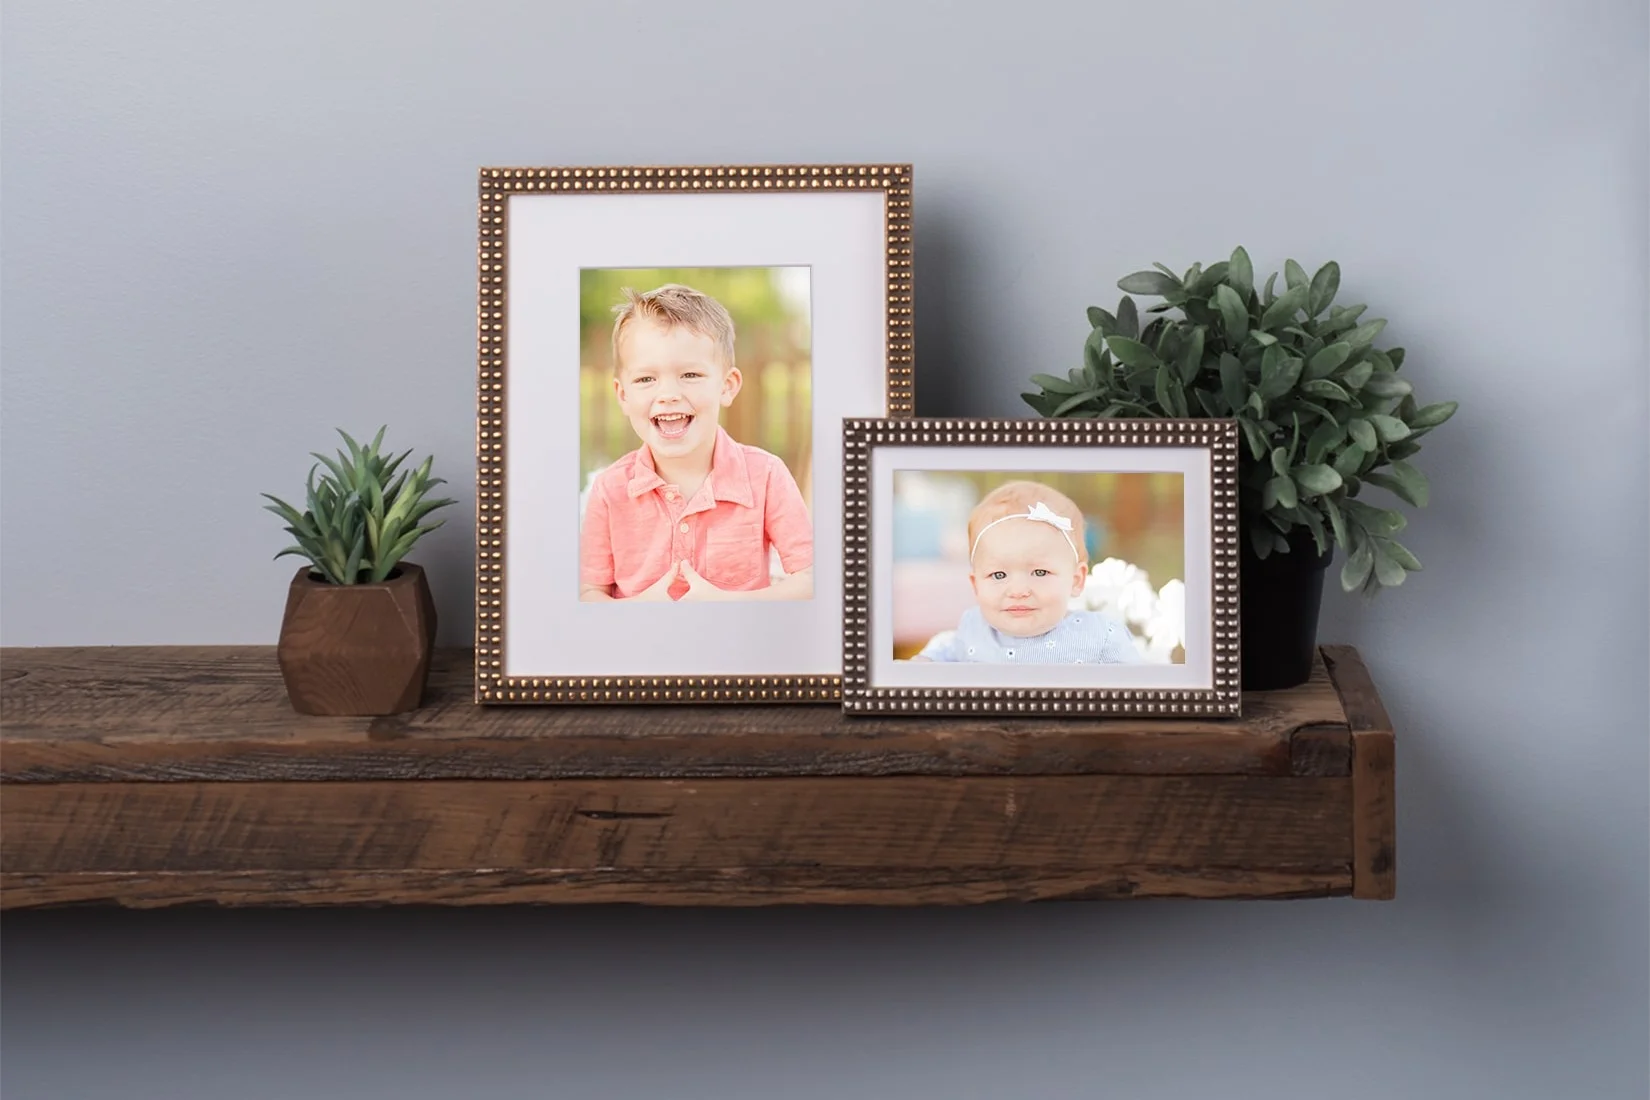
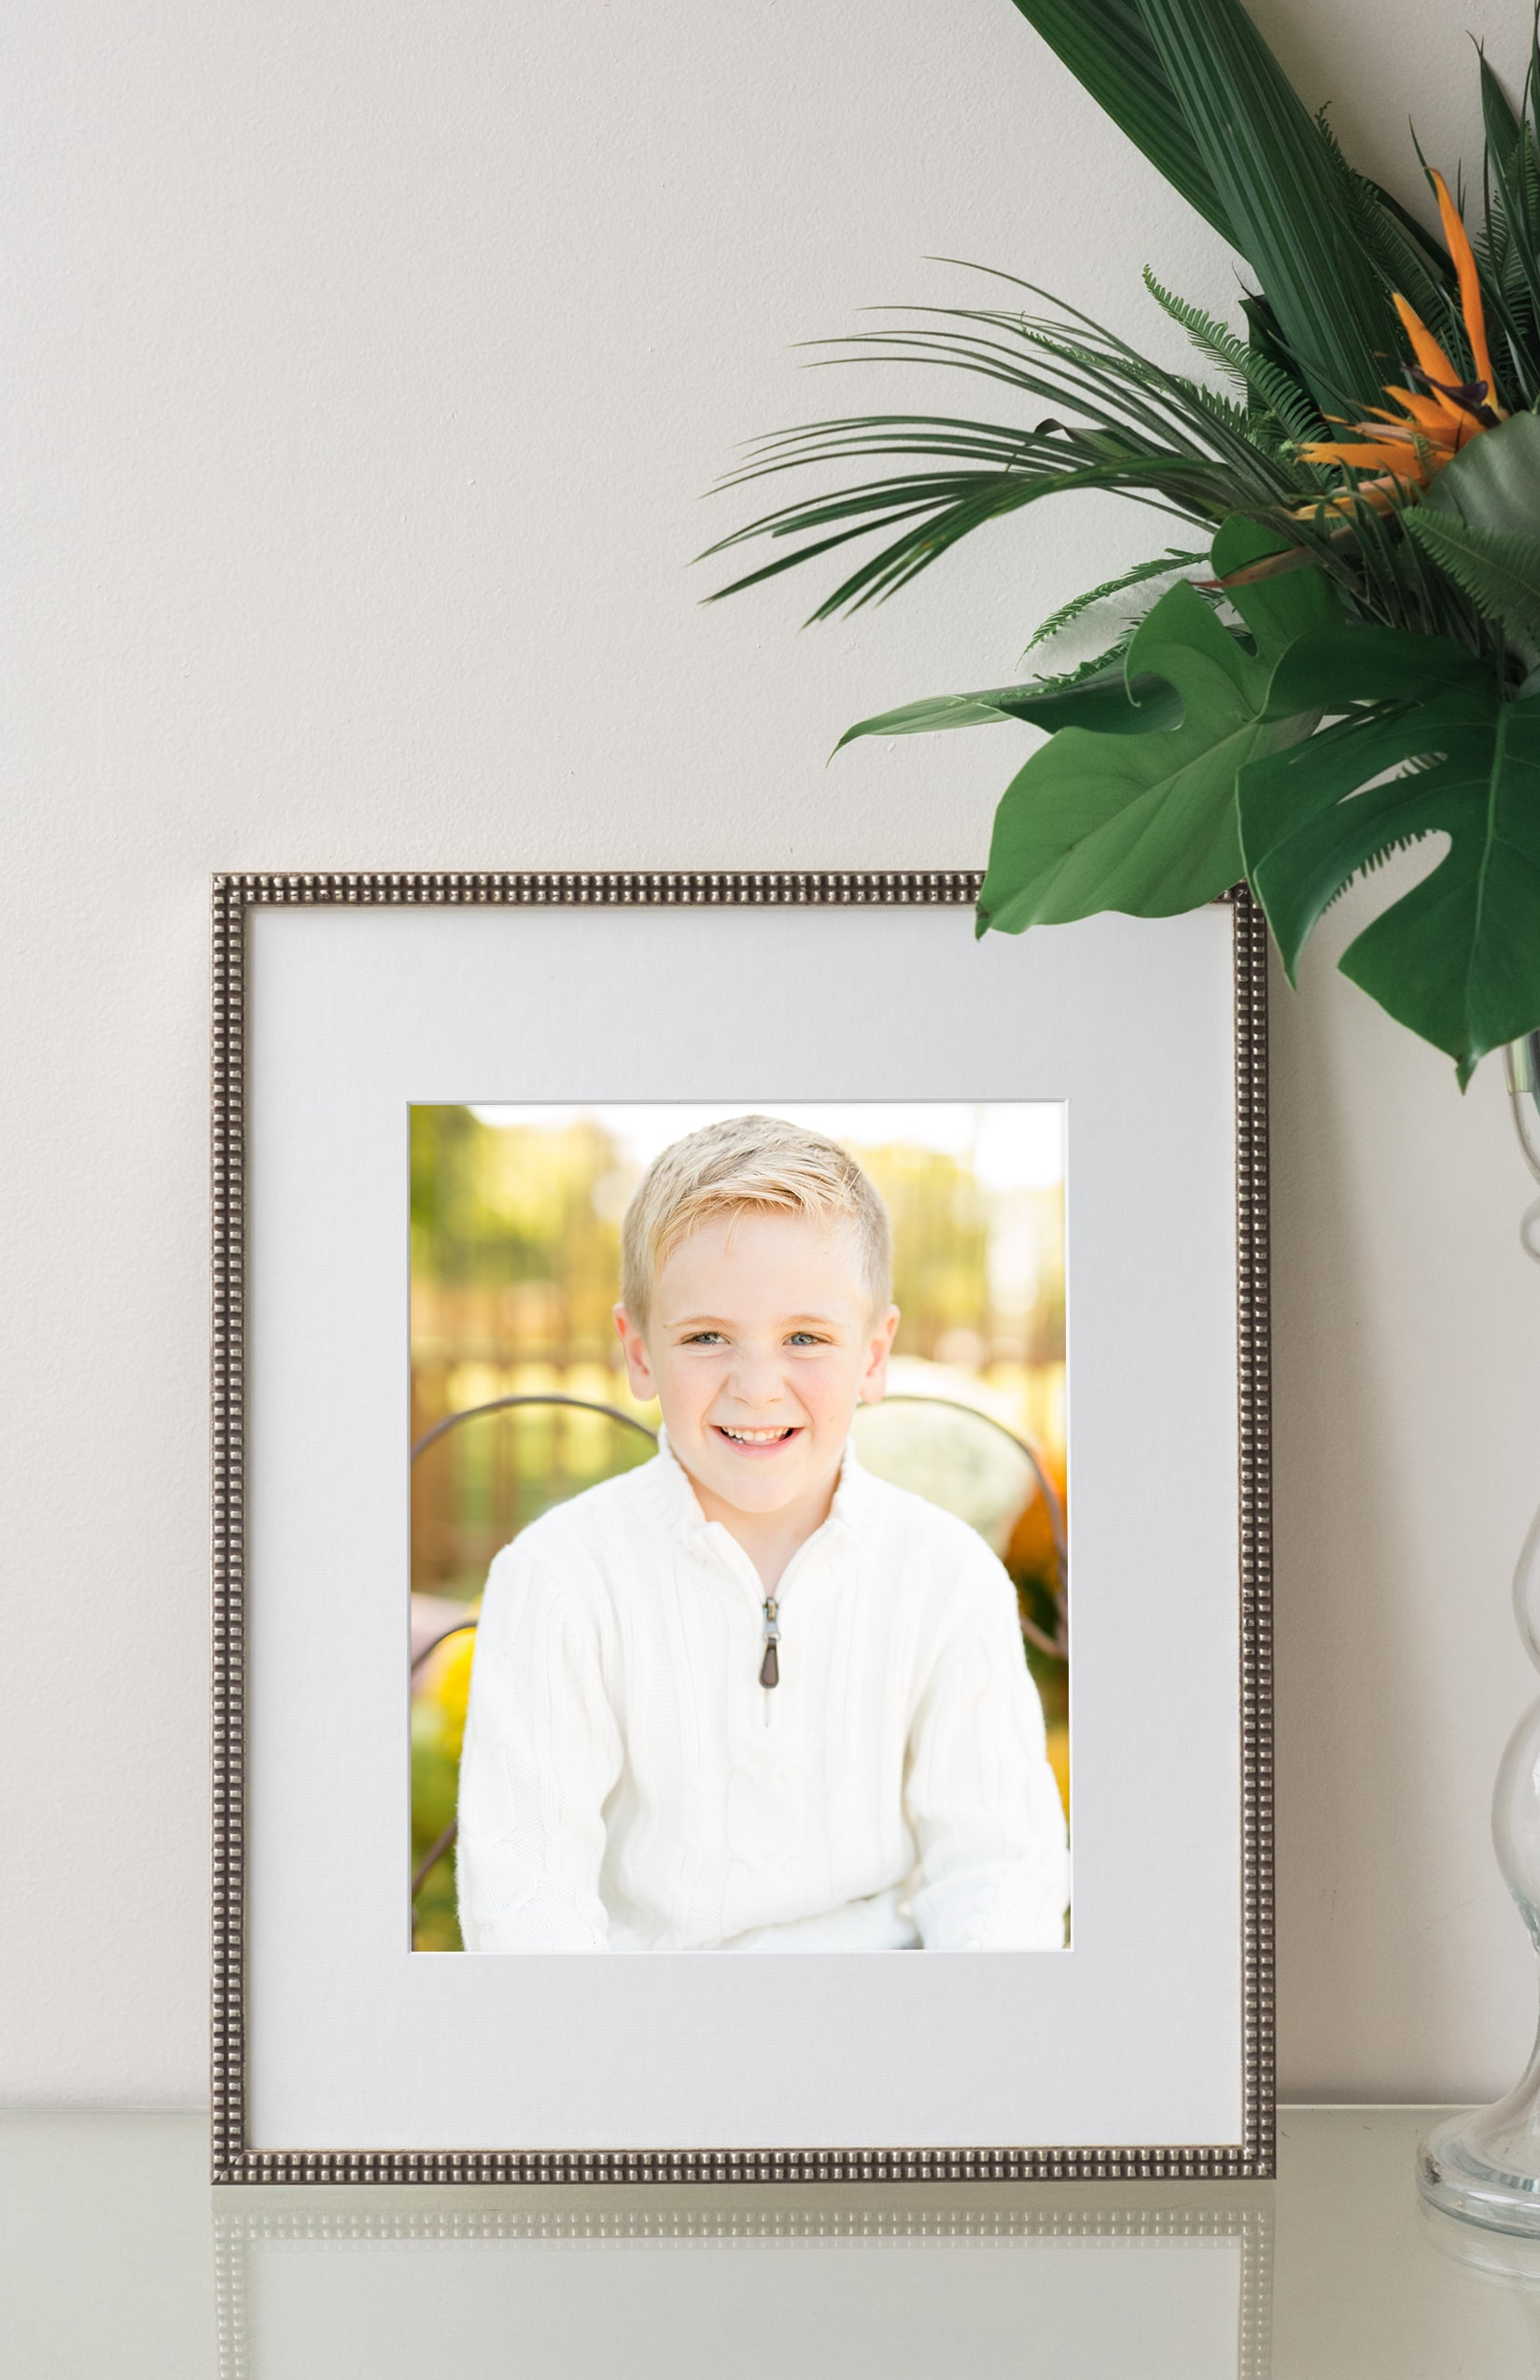
Include plants in styling your photos to add a different visual dimension to the space.
DESIGN TIP: I use to be super against fake plants. But recently they look pretty decent! Pay just a tad more for a nice looking one, but go real if you have the right lighting conditions. Add at least one plant to the shelf.
Design Tip: Bookcase
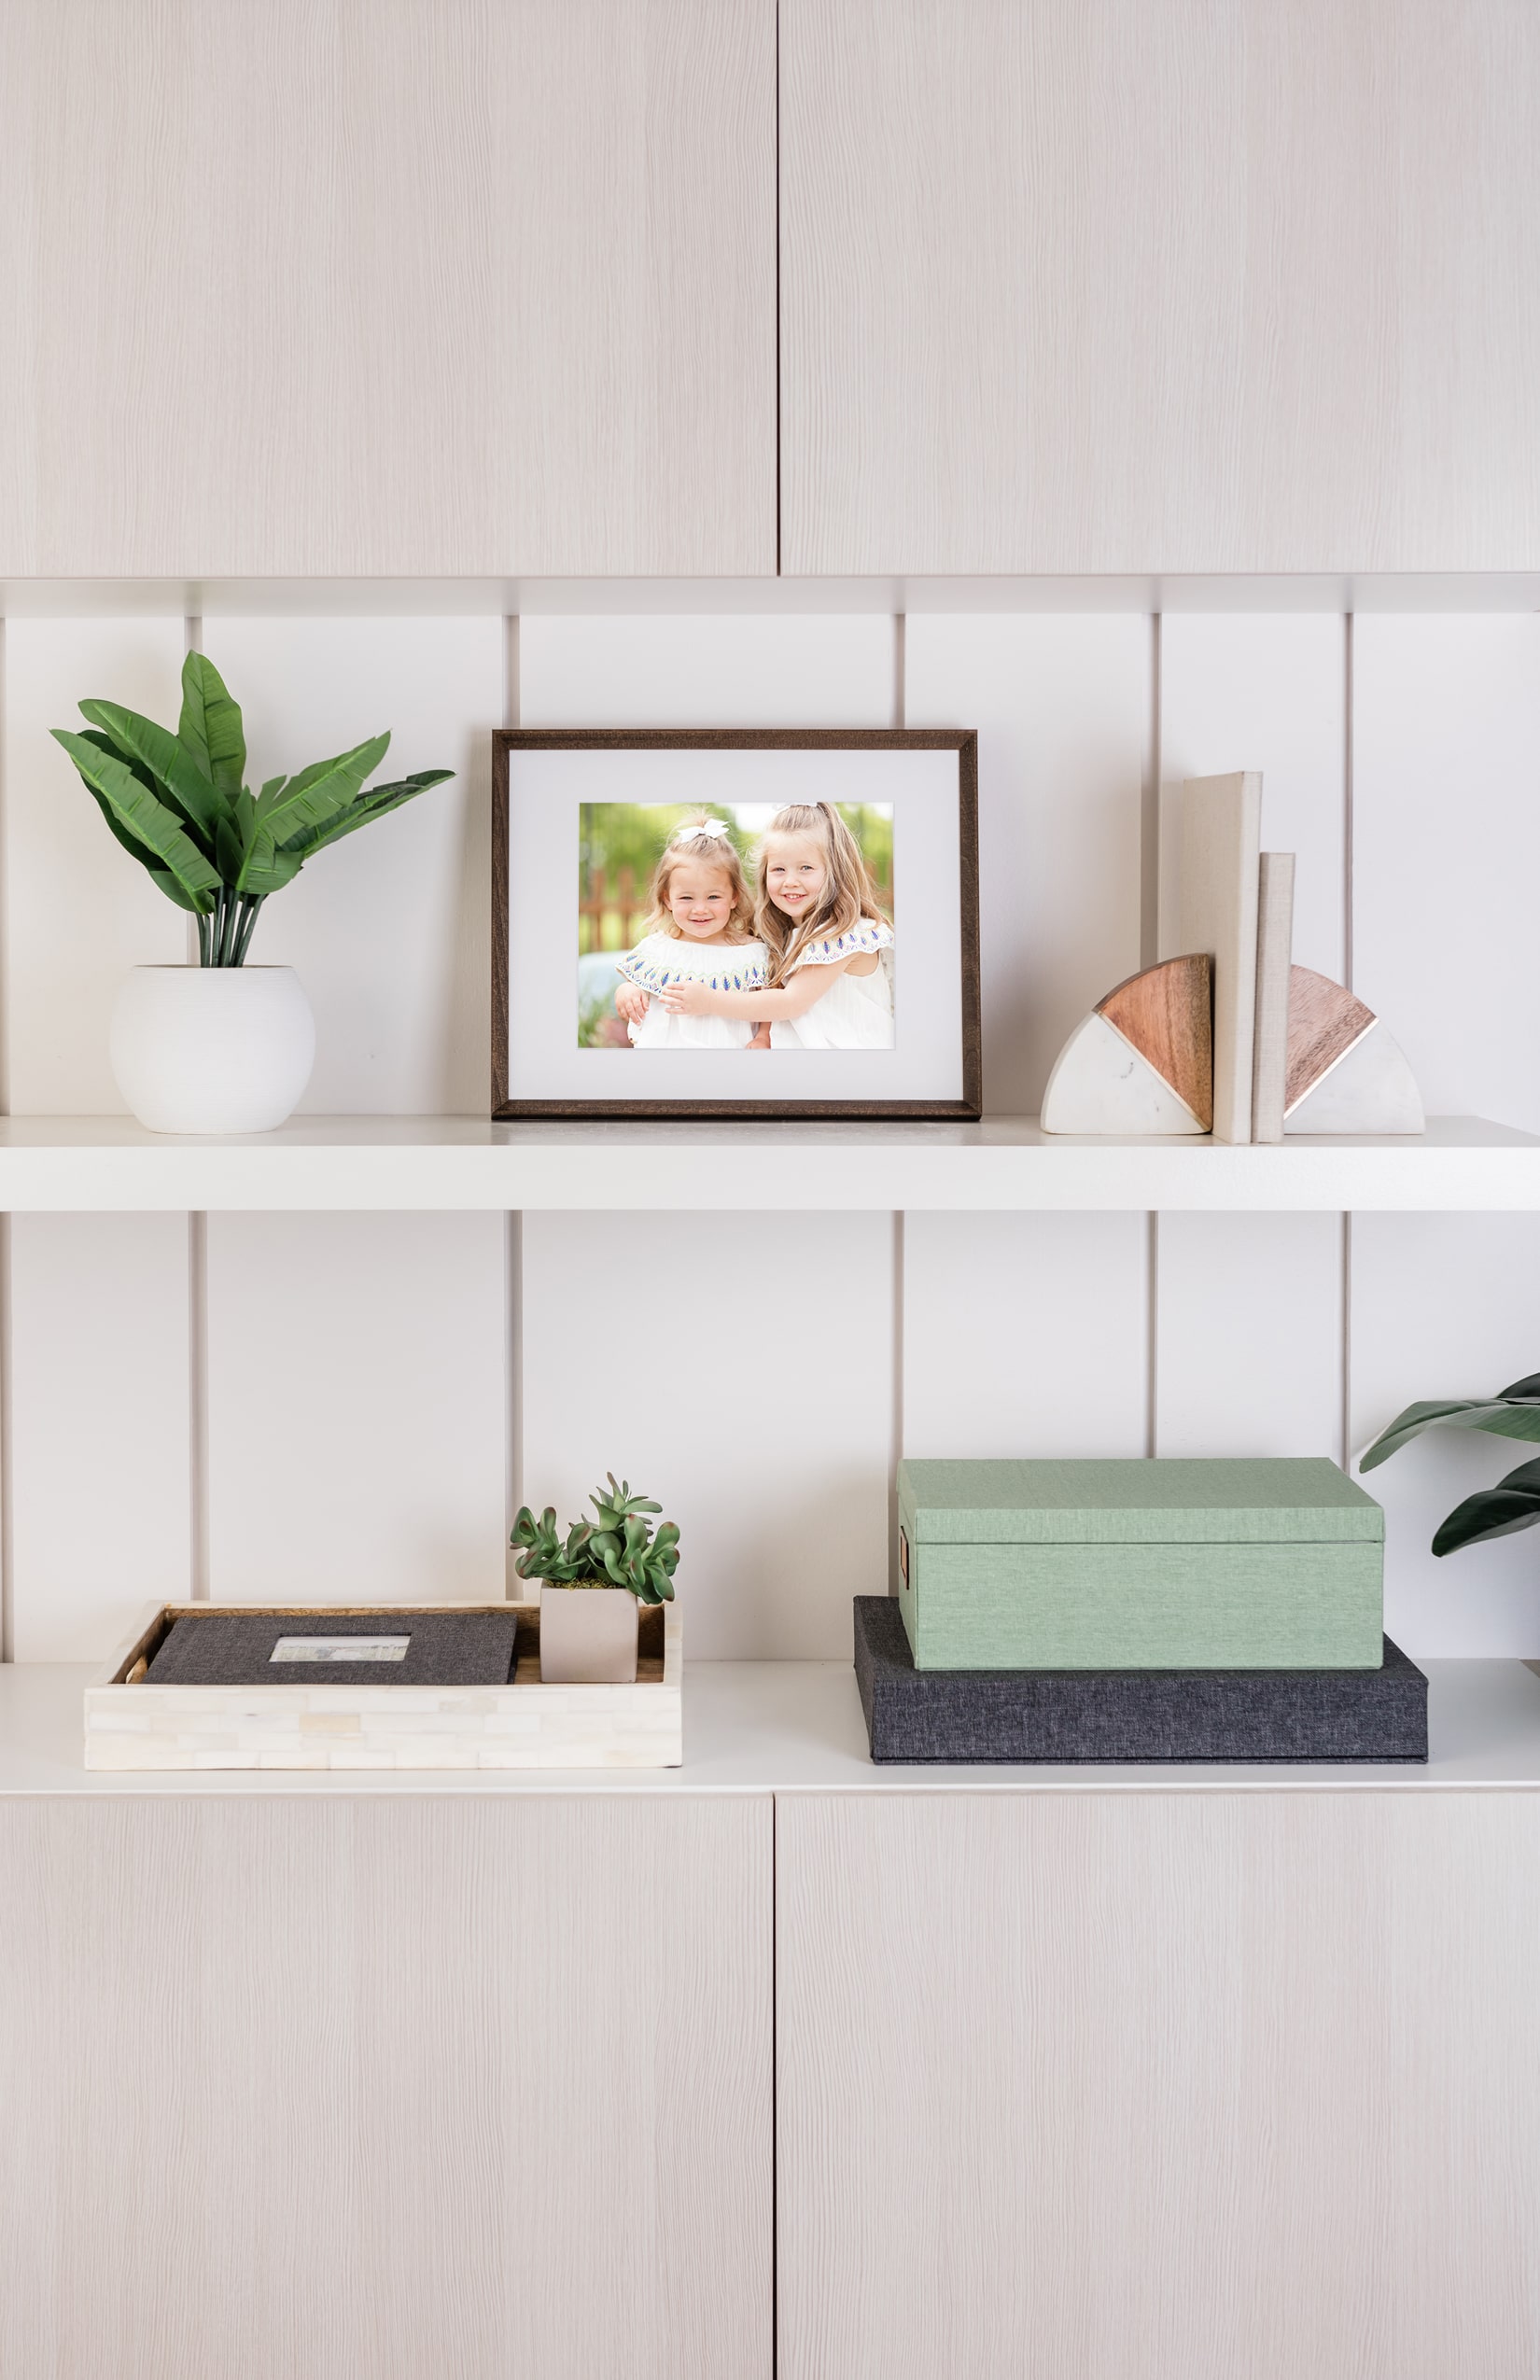
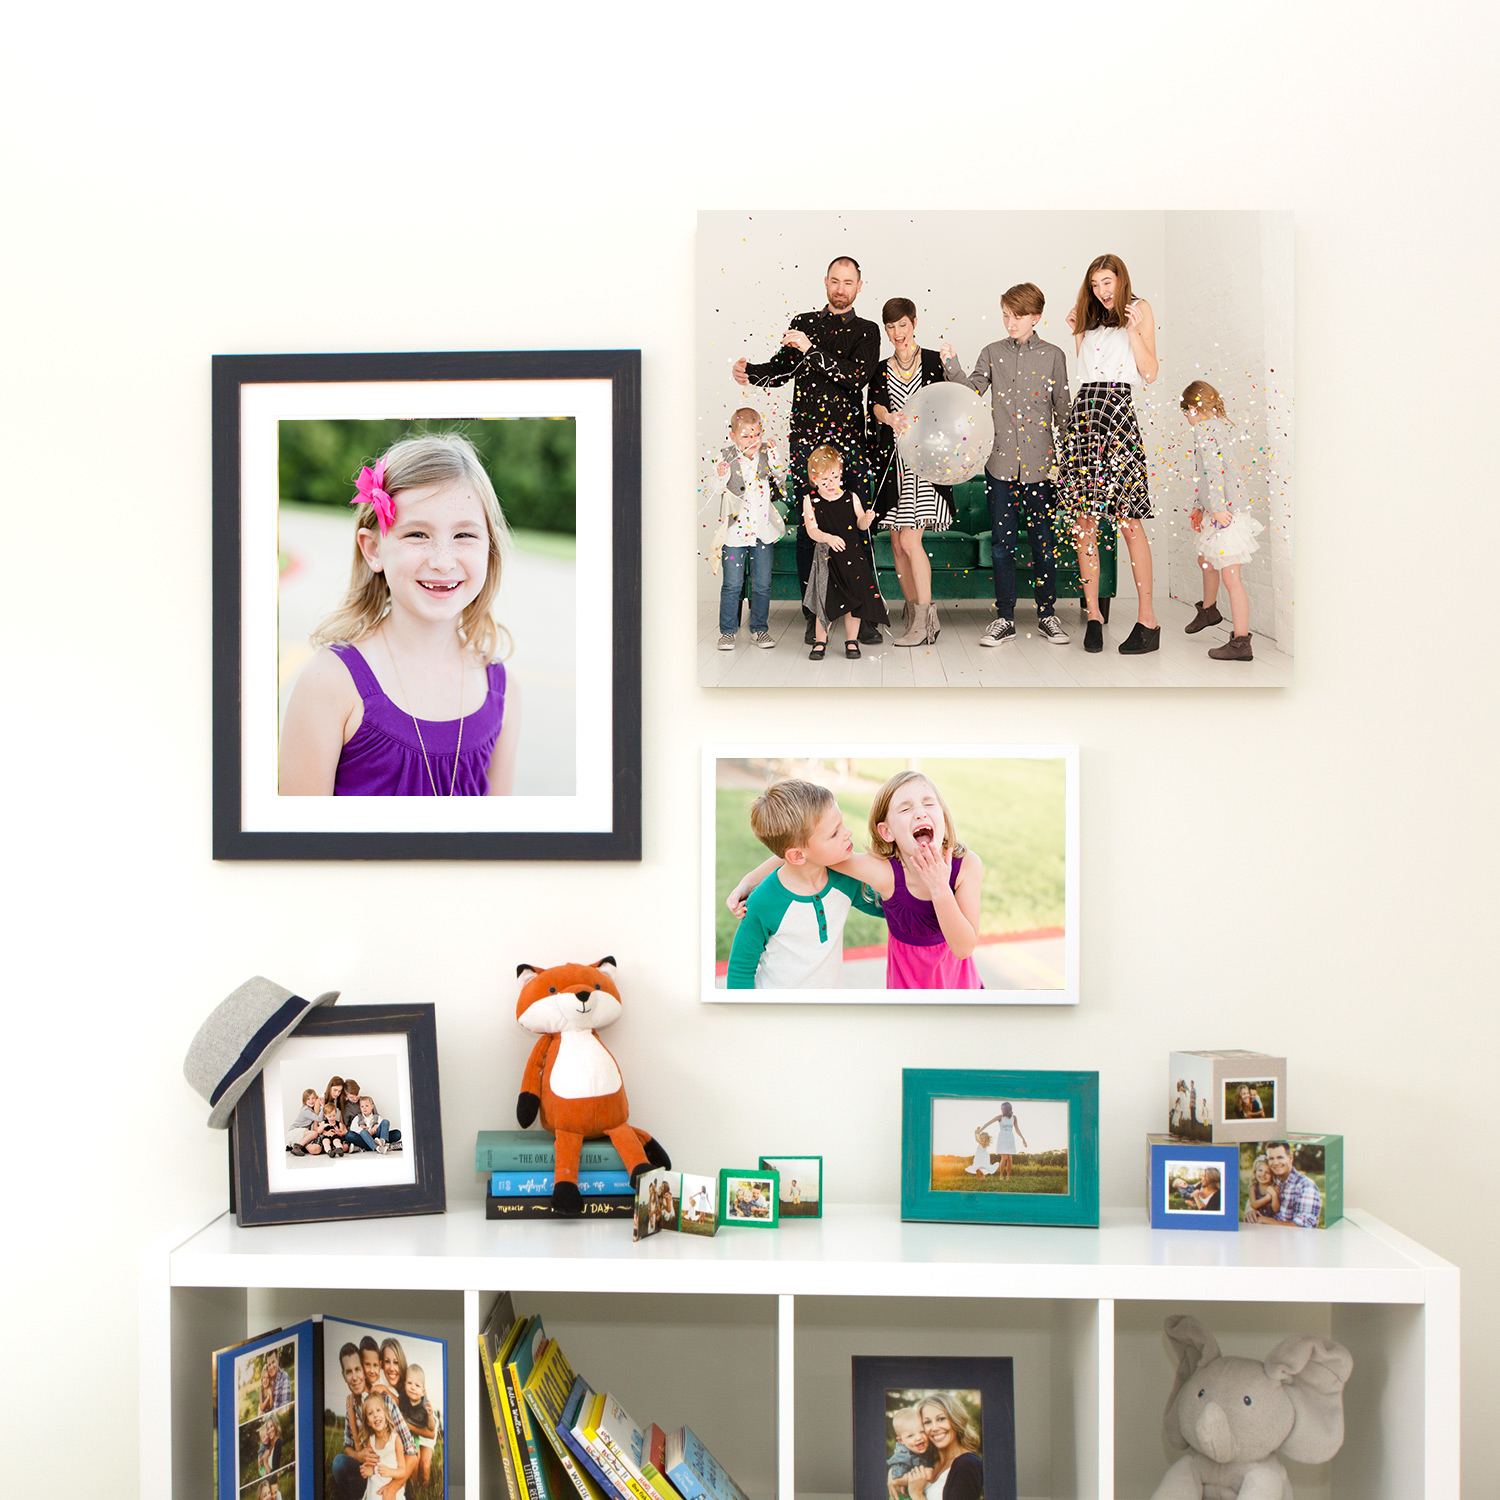
When putting photos on a bookcase (or set of shelves). Make the bottom shelf more visually weighty. Use baskets or boxes or declutter the room and balance our your design. This is also a great place to add at least one plant to add dimension to your space.
Design Tip: Don’t forget about your kid’s rooms
When you’re thinking about where you want your photos to live. Don’t rule out your kids rooms. My kids’s love having photos of themselves for them to see! It helps keep perspective about what is important in our home and I think it builds self-confidence. Go for more neutral frames that can continue to match your kid’s room style as it changes over time. Pictured on the wall is the black and white frame flat “Sellwood” frame. These are great for a kid’s room because they are made with acrylic and are shatterproof.
